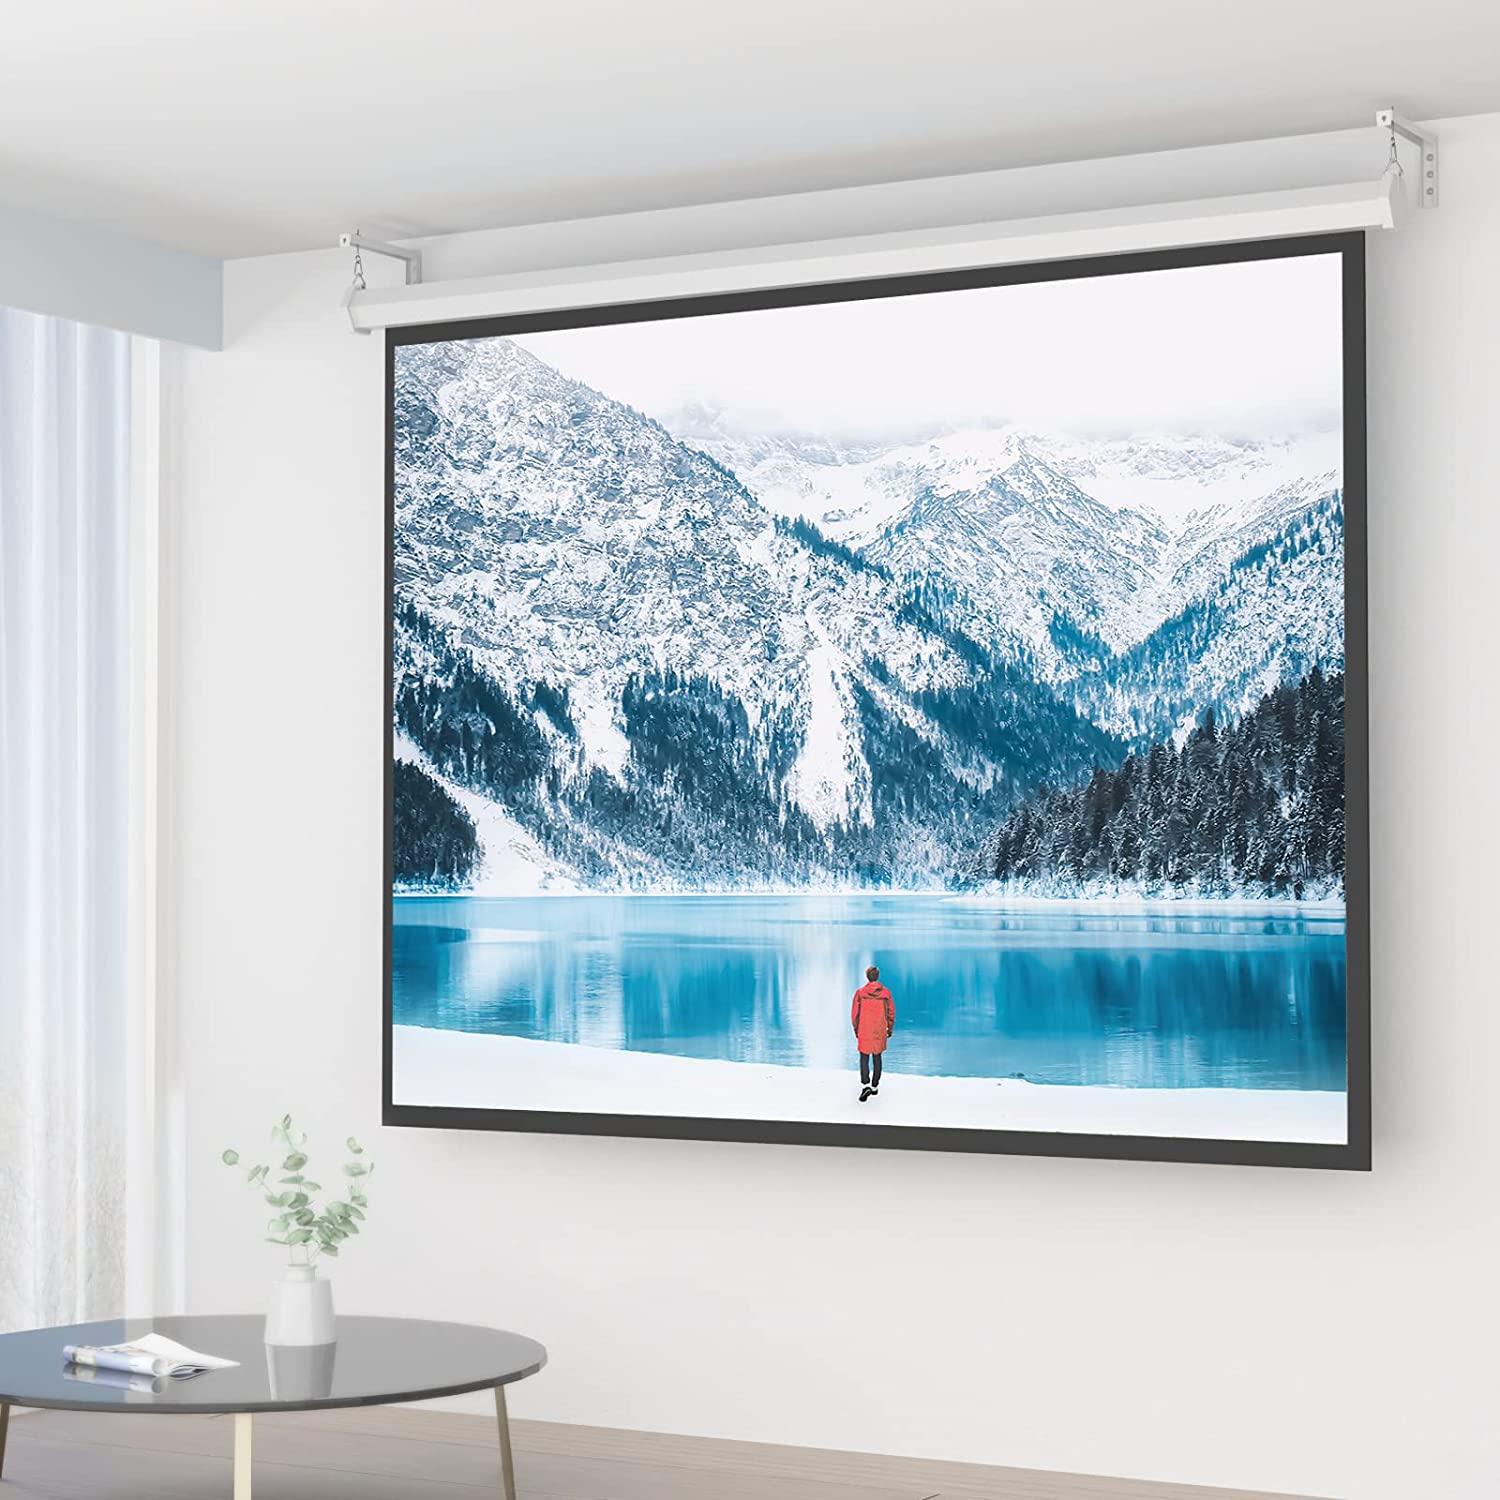
Updated September 1, 2026. Short answer: hang a projector screen from the ceiling only when the screen housing or frame is supported by a structure that can safely carry its weight. For most residential installs, that means ceiling joists, solid blocking, concrete, or manufacturer-approved structural hardware—not drywall or a suspended ceiling grid by itself. Before drilling, confirm the screen type, exact bracket spacing, total weight, viewing height, projector throw geometry, and any power requirements for a motorized screen.
Brandligo has not independently installed or load-tested every projector screen. Structural capacity, fastener choice and electrical work depend on the building and the exact screen model, so follow the manufacturer manual and use a qualified installer when the ceiling structure or wiring is uncertain.
Ceiling-mounted projector screen vs ceiling-mounted projector
These are two different jobs. This guide covers the screen housing or screen frame being attached to or suspended from the ceiling. If you are mounting the projector itself overhead, use our projector ceiling-mount installation guide. If you are renting or cannot drill at all, use our no-drill projector screen guide instead of improvising an overhead mount. Projector placement depends on throw distance, lens offset/lens shift, ventilation and cable routing, while the screen installation is mainly about structural support, screen height, level alignment and safe operation.
1. Identify the screen type before choosing hardware
The correct installation method changes with the screen design:
- Manual pull-down screens: often use wall/ceiling brackets or suspension points built into the housing.
- Electric wall/ceiling screens: may use floating brackets that slide along the housing to align with studs or joists. Elite Screens, for example, documents ceiling-capable brackets on several current electric series.
- Recessed/in-ceiling screens: are installed partly or fully inside the ceiling cavity and usually need more planning for structure, service access and power.
- Fixed-frame screens: normally mount to a wall, but specialized suspension hardware can be used when the manufacturer permits it.
Do not assume that one generic hook-and-anchor method works for every screen. The installation manual for the exact model should determine the approved bracket points and hardware layout.
2. Choose the screen position before drilling
Decide the final screen location using the room layout, seating position and projector geometry. The screen should not be placed simply where two ceiling joists happen to be easiest to reach.
Check four things first:
- Screen size and viewing height: use our Projector Screen Size Guide to choose a comfortable image size and seating relationship.
- Projector-to-screen distance: confirm the projector can fill the screen from the planned lens position using our Projector Throw Distance Guide.
- Clearance: make sure the screen can deploy without hitting furniture, speakers, lights, fans, soffits or doors.
- Screen/projector compatibility: UST and some ALR/CLR screens use directional optical surfaces and require precise geometry. If you are using a UST system, also see our Ultra Short Throw Projector Guide.
3. Find real structural support
This is the most important safety step. A screen housing creates a sustained overhead load, and motorized housings can be long and awkward even when their published weight does not look extreme.
For a typical wood-framed ceiling, locate joists with an appropriate detector and verify their actual position. Where the screen’s bracket spacing does not line up with the joists, a common solution is a properly sized mounting board or blocking that is itself secured into structural framing, then used to position the screen brackets. The exact board, fasteners and span must suit the load and structure.
For concrete ceilings, use only anchors and installation methods approved for the concrete condition and the screen load. For steel framing or commercial structures, follow the screen manufacturer and building requirements rather than adapting residential wood-framing advice.
Do not rely on drywall alone
The old version of this article implied that drywall anchors were generally enough if the right screws were selected. That is too broad for an overhead screen. Drywall is a finish material, not a universal structural mounting surface. If the manufacturer does not explicitly approve a rated ceiling-anchor solution for the exact screen and substrate, attach to structural framing or have the support evaluated by a qualified installer.
Do not hang a screen from a drop-ceiling grid by itself
A suspended T-bar grid should not be treated as the primary structural support unless the ceiling system and screen manufacturer specifically provide an engineered method for that load. In commercial spaces, the screen is commonly supported from the structure above the grid rather than from the lightweight grid itself.
4. Mark bracket spacing and screen center
Use the screen manual’s exact bracket or suspension-point spacing. Mark the screen centerline and both mounting points, then verify that both points are level before drilling. Wide screen housings make small height differences obvious once the screen is deployed.
Some current screen systems use floating brackets that can slide along the housing for centering after the structural attachment points are established. Elite Screens’ current Spectrum Tab-Tension 2 CineGrey 3D, for example, documents sliding brackets for wood-stud wall/ceiling installation and separate eyebolts for suspended installation.
5. Install the structural hardware
Use the manufacturer’s specified fastener type, diameter, embedment and bracket arrangement wherever those details are provided. Pre-drill pilot holes in wood only when appropriate for the selected fasteners, and do not drill until you have checked for wiring, plumbing, HVAC and other concealed services.
For a heavy or recessed screen, this is a sensible point to stop and use a professional if you are unsure about the ceiling structure. Recessed screens can require framing modifications, service access and electrical work that go beyond a basic DIY hanging job.
6. Lift and attach the screen safely
Long manual and motorized screen housings are difficult to control overhead. Use a second person whenever the screen length, weight or mounting method makes one-person handling unsafe. Attach the housing to the approved brackets, hooks, suspension points or threaded hardware exactly as the manufacturer specifies, then secure any locking screws, retaining clips or nuts before releasing the load.
Do not lift the screen by the projection fabric. Handle the housing or frame using the approved lifting points.
7. Level the housing and test the full travel
Before final tightening, check the housing with a level and deploy the screen through its full intended travel. Confirm that the screen clears nearby objects and that the bottom bar hangs evenly.
For a motorized screen, test up, stop and down functions several times. If the screen uses adjustable drop limits, follow the manufacturer procedure rather than forcing the motor beyond its designed travel.
Motorized screen power planning
Some electric screens are plug-and-play; others may require concealed wiring or dedicated electrical work. Elite Screens currently sells both plug-and-play wall/ceiling models and recessed in-ceiling systems with different installation requirements. Do not assume every motorized screen can be hardwired the same way.
If a new permanent circuit, junction box or concealed mains wiring is required, follow local electrical rules and use a qualified electrician where required. Low-voltage triggers and control cables should also be planned before the screen housing is permanently boxed into a ceiling.
Special case: recessed in-ceiling screens
A recessed screen is not simply a normal screen pushed into a ceiling opening. The housing must fit between or around structural members without weakening them, and the design must preserve access for future service. Manufacturer installation drawings should be reviewed before framing or cutting the ceiling.
Current Elite Screens Evanesce models are purpose-built for recessed installation and include dedicated installation hardware. They are a good example of why recessed screens should be treated as their own installation class rather than improvised from a wall/ceiling housing.
Commercial and meeting-room installation checklist
For offices, classrooms, training rooms and other shared spaces, treat the screen as part of the room infrastructure rather than a standalone accessory. If the projector itself is still being selected, use Brandligo’s business projector procurement guide to match brightness, resolution, throw ratio and management needs to the room before finalizing the screen installation. Before procurement or installation, document the screen model and housing dimensions, published weight, approved mounting method, power and control requirements, service-access needs, projector throw geometry, ceiling type, and who is responsible for structural and electrical work.
Also plan how the screen will be operated after handover. Motorized systems may use wall controls, IR/RF remotes, low-voltage triggers or building-control integration depending on the model. Keep the manufacturer’s installation and service documentation with the room records so future maintenance teams do not have to reverse-engineer concealed brackets or wiring.
Common mistakes to avoid
- Mounting into drywall without confirmed structural support.
- Using a suspended ceiling grid as if it were a structural beam.
- Drilling before confirming the projector can actually fill the screen from the planned lens position.
- Using the wrong screen type for UST or ALR geometry.
- Failing to account for the full deployed screen height.
- Ignoring the housing weight and approved bracket spacing.
- Running unapproved power wiring inside a wall or ceiling.
- Cutting or weakening ceiling joists to make a recessed housing fit.
FAQs
Can I hang a projector screen from drywall?
Do not treat drywall alone as a universal safe support for an overhead projector screen. Attach to structural framing, blocking, concrete or a manufacturer-approved rated system for the exact substrate and load.
Can I hang a projector screen from a drop ceiling?
Not from the lightweight T-bar grid by assumption. In many commercial installations, suspension hardware passes through the ceiling plane and attaches to the building structure above. Follow the screen and ceiling-system requirements.
Can I install a projector screen on a sloped ceiling?
Only if the exact screen and suspension system support that geometry. Do not assume a bracket designed for a flat ceiling can simply be tilted. Some manufacturer instructions explicitly limit particular ceiling-install methods to flat ceilings.
How high should a ceiling-mounted projector screen be?
There is no single correct height. Set the image area from the seating sightline and desired viewing angle, while leaving enough clearance for furniture and the full screen drop. Use the screen-size guide for viewing-angle planning rather than the old blanket formula that appeared in this article.
Should the projector screen and projector be centered?
Centering is usually the simplest installation, but some projectors provide optical lens shift that allows controlled offset. Avoid relying on large digital keystone corrections to compensate for poor physical placement. For projector-side alignment, see our projector ceiling-mount guide.
Bottom line
A ceiling-mounted screen is safe and clean-looking when the installation is planned around the actual screen model and the building structure. Confirm screen geometry, find structural support, use the approved bracket points, plan power before closing anything up, and test the screen through its full travel before considering the installation complete. For the rest of the system, continue with Brandligo’s guides to ceiling-mounting the projector, throw distance and screen size.
Manufacturer references: Elite Screens in-ceiling installation guidance, Elite Screens Spectrum Tab-Tension 2 CineGrey 3D, Elite Screens Manual SRM Pro, and Elite Screens Evanesce in-ceiling series.


Leave a Reply