Introduction
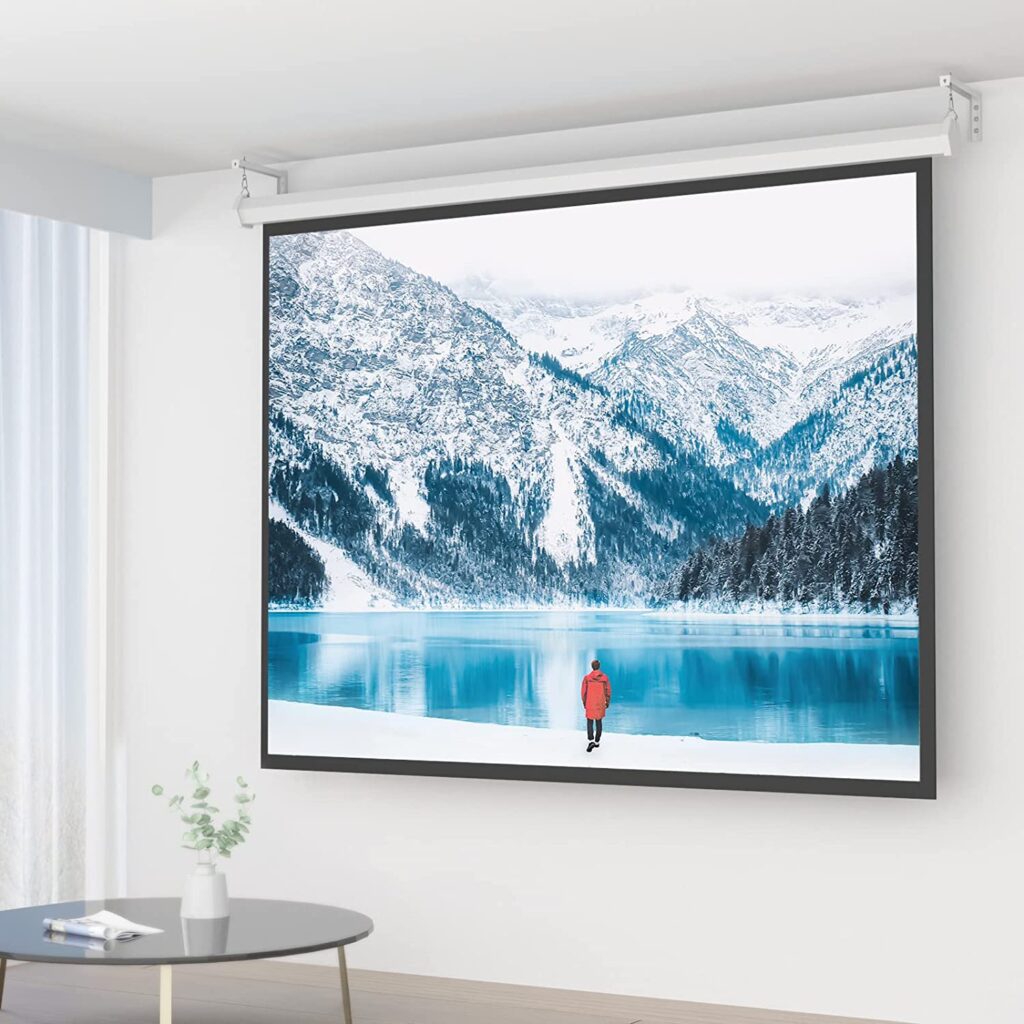
If you’re a movie enthusiast or a passionate gamer, creating a dedicated home theater space is a dream come true. Hanging a projector screen from the ceiling is a popular choice for maximizing space and achieving optimal viewing angles. In this guide, we will walk you through the process of how to hang a projector screen from the ceiling, providing you with valuable tips and step-by-step instructions. So, let’s dive in and turn your entertainment area into a captivating cinematic experience!
How to Hang a Projector Screen from the Ceiling?
To start the installation process, follow these steps to hang a projector screen from the ceiling securely:
- Assess the Room and Select the location before you begin, consider the room’s layout and identify the best location for your projector screen. Look for a spot with enough space and a clear line of sight from the seating area. Take into account the room’s dimensions, ambient light, and acoustics.
- Gather the Necessary Tools and MaterialsTo ensure a smooth installation process, gather the following tools and materials:
- Projector screen
- Stud finder
- Tape measure
- Pencil or marker
- Drill
- Screws and anchors
- Ladder or step stool
- Level
- Locate the Ceiling JoistsUse a stud finder to locate the ceiling joists. Mark their positions with a pencil or marker. It is crucial to secure the projector screen to the ceiling joists for stability and support.
- Measure and Mark the Screen PositionMeasure and mark the desired screen position on the ceiling using a tape measure and pencil. Ensure the marked area aligns with the center of the seating area for an optimal viewing experience.
- Prep the Ceiling Mounting BracketAttach the ceiling mounting bracket to the projector screen according to the manufacturer’s instructions. Make sure to follow the specific guidelines provided with your projector screen model.
- Drill Pilot HolesPlace the bracket against the ceiling and align it with the marked position. Using a drill, carefully drill pilot holes into the ceiling joists. Be cautious not to damage any electrical wires or pipes hidden in the ceiling.
- Secure the Bracket to the CeilingWith the pilot holes in place, attach the bracket securely to the ceiling joists using screws and anchors. Ensure a tight fit, as this will provide the necessary stability for the projector screen.
- Attach the Projector ScreenLift the projector screen and align it with the ceiling bracket. Depending on the model, the screen might slide or lock into place. Follow the manufacturer’s instructions to secure the screen properly.
- Test and AdjustLower the projector screen and test its functionality. Make any necessary adjustments to ensure smooth operation and proper tension. Use a level to ensure the screen is perfectly horizontal.
- Enjoy Your Home Theater Setup!
With the projector screen successfully installed, it’s time to sit back, relax, and enjoy the immersive experience of your own home theater.
want to learn more aboutprojectors?
FAQs about Hanging a Projector Screen from the Ceiling
Q1: Can I hang a projector screen from any ceiling type?
Yes, you can hang a projector screen from different ceiling types, including drywall, concrete, or drop ceilings. However, the installation method may vary depending on the ceiling material. It is essential to use appropriate anchors and screws for secure mounting.
Q2: How do I determine the ideal screen size for my room?
To determine the ideal screen size, consider the viewing distance from the screen. As a general rule, multiply the viewing distance in inches by 0.84 to get the recommended screen width. However, personal preference and room size also play a role in selecting the appropriate screen size.
Q3: Can I install a projector screen by myself, or do I need professional assistance?
Installing a projector screen can be done as a DIY project, but it requires careful attention to detail and basic handyman skills. If you’re not comfortable with drilling or handling heavy objects, it’s advisable to seek professional assistance to ensure a safe and secure installation.
Q4: How do I hide the cables when hanging a projector screen from the ceiling?
To hide the cables, you can use cable management solutions such as cable raceways, wire covers, or in-wall cable concealment techniques. These options will help maintain a clean and organized appearance in your home theater space.
Q5: Can I mount the projector screen at an angle?
While it’s possible to mount a projector screen at an angle, it’s generally recommended to keep the screen perpendicular to the floor for optimal image projection and viewing angles.
Q6: Can I install a motorized projector screen on a sloped ceiling?
Yes, you can install a motorized projector screen on a sloped ceiling. Ensure that the mounting bracket and screen are compatible with the slope angle, and follow the manufacturer’s instructions for installation on sloped ceilings.
Conclusion
Hanging a projector screen from the ceiling is an excellent choice for creating a captivating home theater experience. By following the step-by-step instructions outlined in this guide, you’ll be able to successfully install your projector screen and enjoy immersive movie nights or gaming sessions in the comfort of your own home. Remember to assess the room, locate the ceiling joists, and secure the screen properly for stability and optimal viewing angles. Now, it’s time to bring the magic of the big screen to your home theater!
Do you want to explore the world? please visit